Keep the peel on. That’s my motto. Peels are often packed with fiber and extra nutrition so no need to remove them. Except when you do. From homemade apple sauce to warm apple pie, some recipes are just better without.
They are grown in all states with California being the 5th largest producer and 2nd largest exporter. California’s harvest is from July to October and we produce four main varieties: Gala, Fuji, Granny Smith, and Cripps Pink.
Before we get into peeling them, let’s go over some basics.
How to Buy Apples
Choose apples that are firm, with no bruising, soft spots, or insect holes. They should feel slightly heavy for their size. The skin should be taught, bright and colorful. Apples that are also fragrant will have a wonderful flavor.
How to Store Apples
Apples love being cold, so they are best stored in the fridge. Apples like humidity, so keeping them in a bag is best but don’t seal it. Apples are sensitive to ethylene gas and also emit a lot themselves. Allowing some airflow keeps them fresher longer. Stored this way, they can keep for up to 6 months.
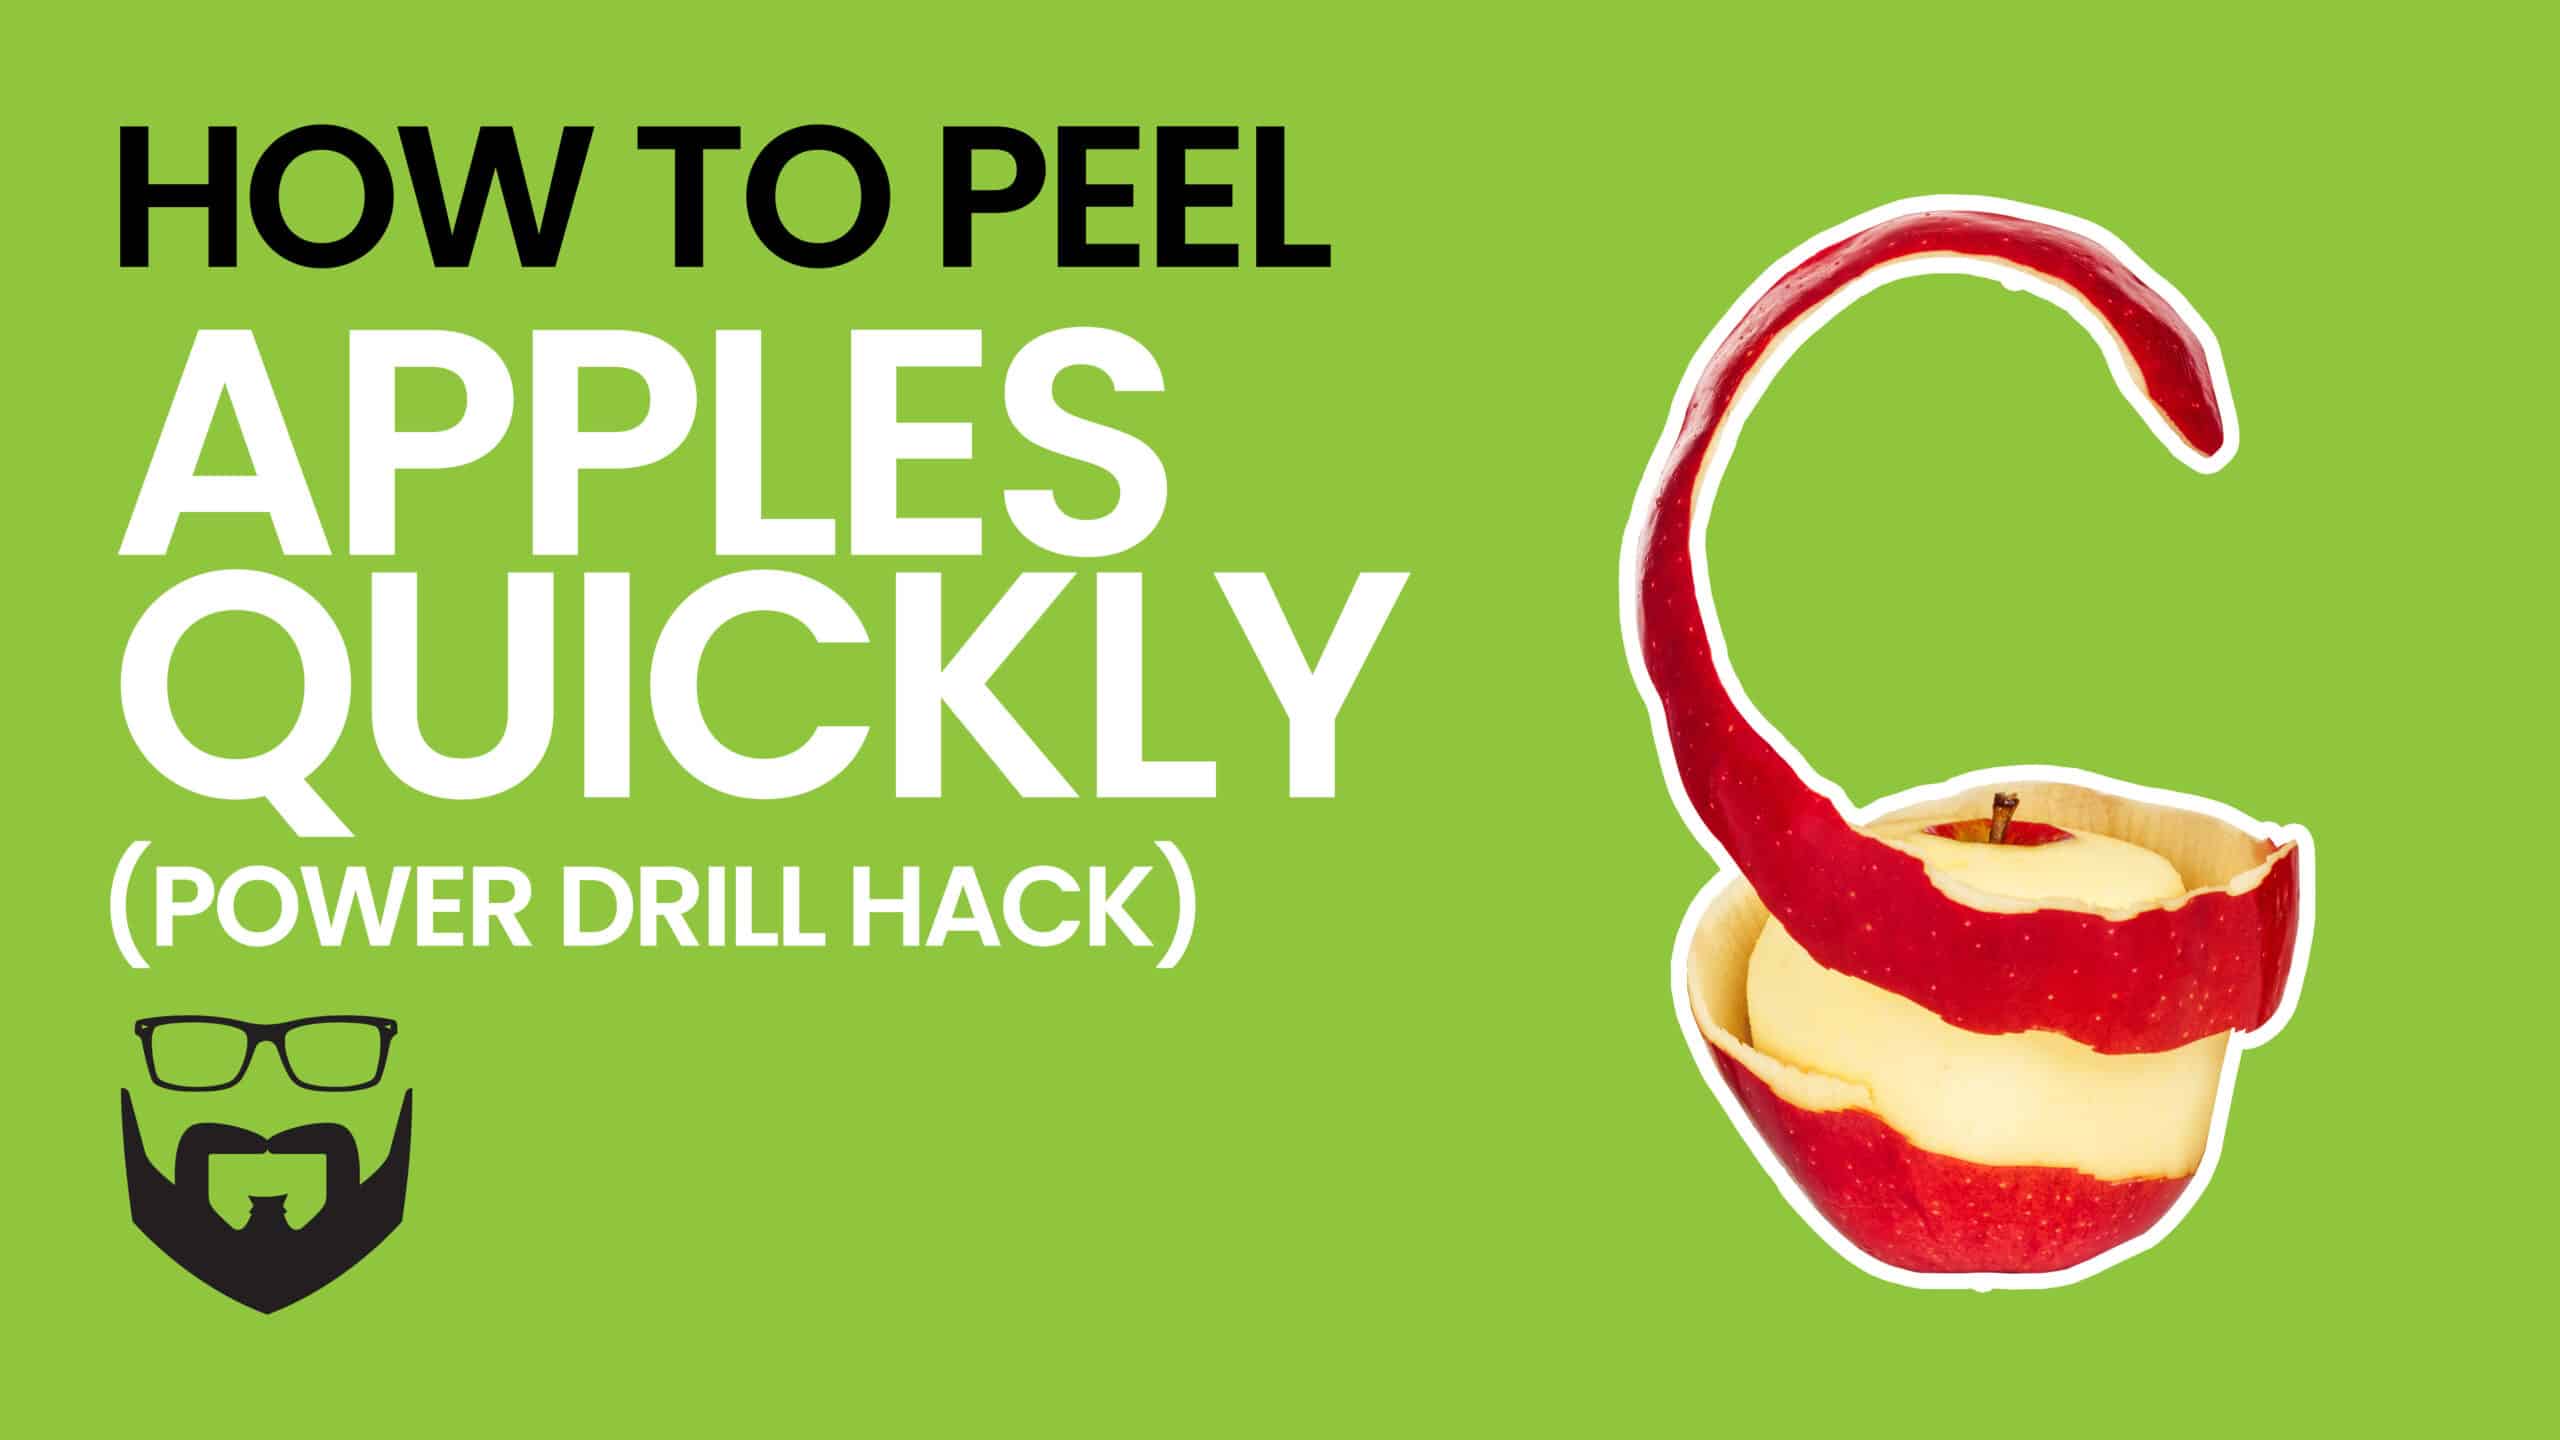
Peel Apples Using a Power Drill
Now that you know how to select the perfect apple and how to store them, let’s get to peeling! Because removing apple peels can be a frustrating and tedious task, here is a quick way to do it using a power drill. This is what you will need:
- Fully-charged electric drill.
- A flat drill bit like a spade drill bit (clean it before using).
- A vegetable peeler (the Y peeler works well).
- And of course… apples.
Okay, with your equipment ready, let’s get to peeling!
The Drill
Start by assembling the drill as you would normally. Whether you are peeling apples or assembling furniture from IKEA, there’s no difference here. Secure the drill bit in the drill.
Flat head drill bits work better as they grip the apples a bit more, providing more torque. Spade bits are a nice choice.
The Apples
Carefully insert the drill bit into an apple, being mindful of your fingers holding the apple but also the drill. Don’t have them on the trigger.
The Peel
Place the peeler on the apple closest to the drill. Turn on the drill such that the apple turns away from the peeler. The Y peeler (also known as the Swiss or Speed peeler) is great for this but any can work. Just be careful no matter which one you choose.
With the drill going, move the peeler across the apple to the other side, away from the drill, until the apple’s skin is completely removed. This can get a little messy until you get the hang of it.
How to Use Leftover Apple Peels
Just because the peels don’t make good pie, no need to toss them out. America wastes 40% of the food grown here, so please use every last scrap. Not ready to use them just yet? Store them in the freezer for up to 6 months.
Here are just a few creative ways to use apple peels:
- Make tea with them.
- Blend them into smoothies.
- Make apple cider vinegar. (you can use the cores too)
- Add to baked goods.


