
Nothing quite embodies the spirit of Halloween like the Jack-o’-Lantern does. Creepy or funny, creative or classic, the carved gourd is more than just simple holiday decor. It’s also a symbol of fall harvest and that winter will soon be amongst us. But did you know, the pumpkin was not the original carved vegetable for this time of year–it was the turnip!
But I digress, let’s get to the pumpkin carving because Halloween will be here before you know it.
1. Cut a hole in the bottom of the pumpkin. It is best to do this around the area where the gourd sits flush with a flat surface. A lot of people do this around the top of the pumpkin but I prefer the bottom for a few reasons. For one, I like the aesthetic of not seeing where I gutted the thing. It adds a little mystery to it. Secondly, I find it easier to light the jack-o’-lantern if I can place the candle then cover it with the pumpkin. Reaching down in, I always burn myself.

2. Remove all of the seeds and guts (eww!), saving them for later. This is the worst part of this job. Pumpkin innards are just disgusting, right?
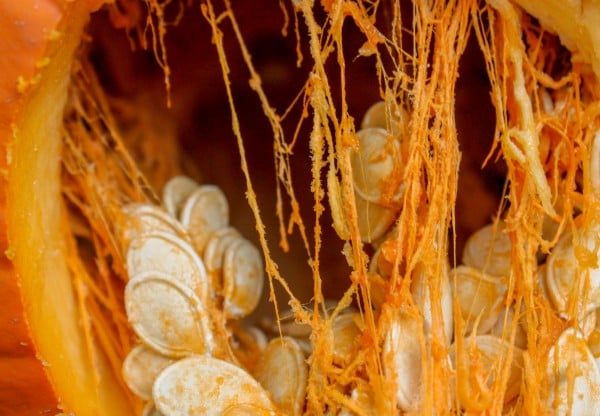
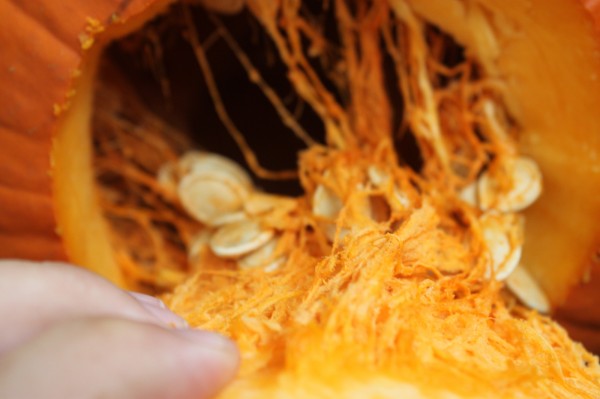
3. We are going to roast those seeds! Check out my Coffee & Chili Pumpkin Seeds and my Salted Maple Pumpkin Seeds.

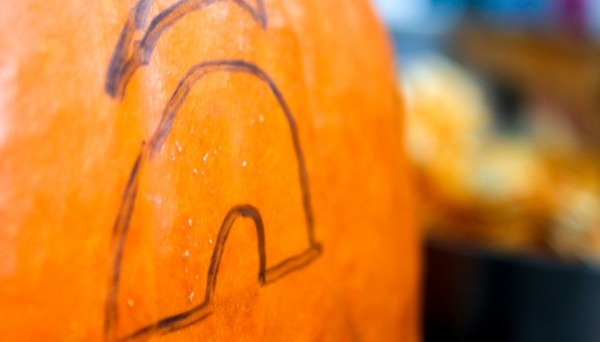
4. Using a dry erase marker or washable marker, sketch your jack-o-lantern design onto the pumpkin. DO NOT use a sharpie! A washable marker allows you to make mistakes and redraw your design if need be.
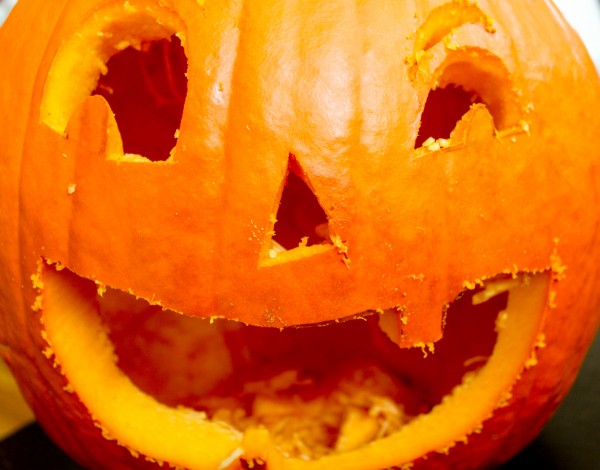
5. Using a flexible and serrated blade, slowly cut your design into the pumpkin. The more creative your design is, the slower you will need to execute this process.
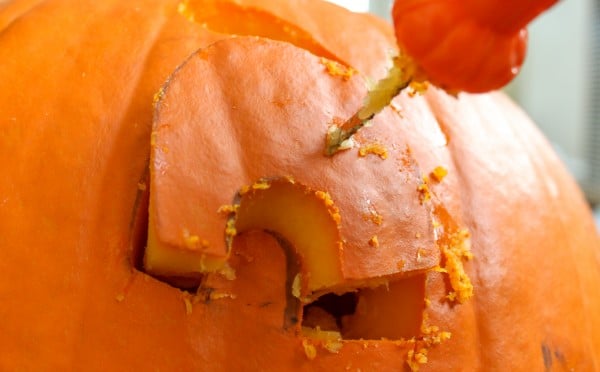
6. Using that same blade, remove the excess pumpkin flesh around your design. This will allow more light to shine through to show off your design.
7. To illuminate your pumpkin, use a tea light candle. I find these give off just enough light, burn for the right amount of time and are the least messy.

Happy Halloween!
These instructions originally appeared on KQED’s Bay Area Bites.