Back in November of 2010, I was approached by Yahoo! to participate in their Ripple of Kindness project. The idea was to show how much happiness one could spread with only $100; ’tis the season, ya know?
I gladly accepted.
My friend Lori Bongiorno, who was the editor of Yahoo! Green, had reached out to me knowing I would probably do something around food. And I did. I decided I was going to make as much bread as I possibly could for 100 bucks. I made a lot of bread. Here is just some of it.
Yes, on one day in November, me and a handful of friends busted our asses making homemade bread for the hungry here in San Francisco. It was incredibly rewarding and exhausting all at the same time. But to this day, an experience I cherish greatly.
As a result, I have always wanted to repeat the event but never did. It wasn’t because I have been too busy (though I am), or that I couldn’t donate my own $100 to the cause ( because I could). And I am sure my friends would gladly join me again. So not to sound like a total p*ssy… but it was just too hard. And ever since, I been thinking about how to make it easier.
Enter Three Loaves.
After four years, it finally hit me on how to do it and to do it well. I love the idea of food as a form of activism. So this new version had to be accessible, scalable, and fun. I also wanted my values around food to be part of the mission. That is, sustainable and seasonal. And most important, it had to be social. What is a cause these days if it cannot thrive on Twitter?
The idea is pretty simple. Every month we will make three loaves of bread: one for you, one for a friend, and one for someone in need. And together, we are going to kick hunger’s ass!
So before we get started, pat yourself on the back. Today we are starting a new kind of food movement. Today we are kicking off Three Loaves.
Let’s say “f*ck you” to hunger!
Ingredients
- 7 1/2 cups flour (1,100g)
- 3 cups tepid water
- 3 packages active dry yeast
- 3/4 cup olive oil
- 3 tablespoons fresh thyme
- 12 oz blueberries
- 2 tbsp salt
Instructions
1. Before you begin, I advise you buy a kitchen scale (I use this one). It is by no means necessary but, really, a scale is a great thing to have for anyone who likes being in the kitchen. And when it comes to bread making, it really lessens your chances for errors. Why? Because flour is a tricky beast to measure. There are countless methods out there but there is one that works every single time, no matter what: a kitchen scale. If you don’t have one, here is my tip for measuring flour: fluff flour with a fork, take a heaping scoop with your measuring cup, and then level it off with a knife. That should do you…but really, invest in a scale if you can.
2. So, we are going to begin by creating a starter. Bread starters are great because they also help reduce errors but also impart a lot of flavor. We are going to build one referred to as a poolish. To create the poolish, combine 30% of the total flour (by weight), equal parts water (by weight), and 3/4 teaspoon of the yeast. This works out to be 350 grams of flour (2 1/4 cup) and 1 1/2 cup water.
3. When mixed, it should be the consistency of thick paste but yield to a wooden spoon for stirring. If it doesn’t, just add a bit more water. Then cover it and let it sit out at room temperature overnight. If your house is always cold, like mine, simply turn your oven on high and let it run for 30 minutes to warm the kitchen. I do this once or twice for the starter.
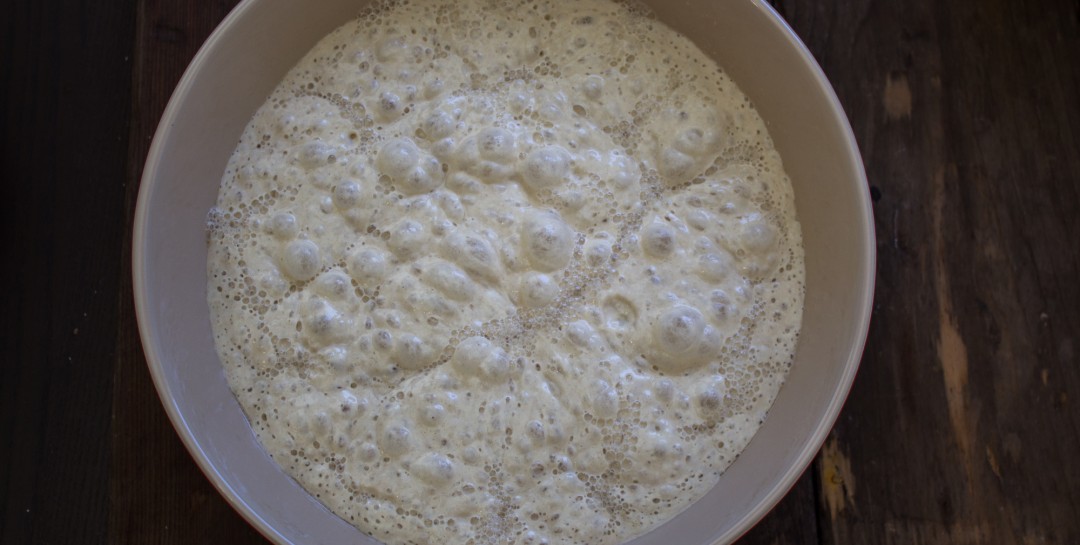
4. When the starter is finished starting (?), or whatever you call it, it should look like the picture above. Now you are going to mix in the following (in this order): the remaining yeast, the remaining water, 3/4 cup olive oil, the salt, and the remaining flour. I suggest working in the flour 1 cup at a time.
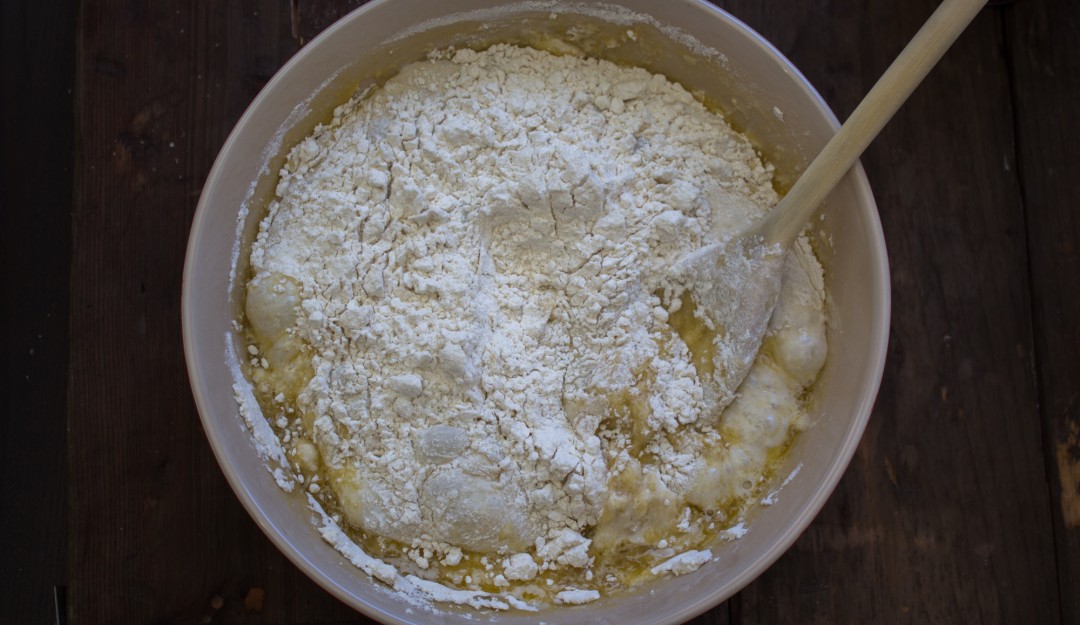
5. Don’t over mix it. You just want the ingredients to combine. Now we are going to let the dough autolyse for about an hour. This is a French term for “resting” where gluten starts to form. I personally refer to this period as “catching up on Orange is the New Black,” but autolyse is easier to say. By letting the dough rest, and the gluten form, it will lessen any mistakes you might make during the kneading process, which also helps form the gluten. So you are hedging your bet and not even doing any work. It’s a win-win!
6. I want to avoid the K-word because this is the part of bread making that, well, where all hell can break loose. I don’t mean to scare you, but if you are going to f*ck it up…it will probably happen here. But don’t worry, I am here to help. You can do this!
7. First and foremost, if you knead your dough by hand, it is nearly impossible to screw it up. Even if you have guns like Schwarzenegger, you’ll tire out before you over knead. This is a good thing, over-kneaded dough breaks down those lovely glutens you worked so hard for, resulting in dry, dense, and crumbly bread. So while a stand mixer is easy to use, please do not knead your dough this way unless you have experience doing so.
8. Simply place the dough on a floured surface, using as little as possible. Push the dough forward with the palm of your hand. Then fold the dough on top of itself, turn it a bit and repeat the process.

9. Like I said, you cannot really over-knead your dough by hand (unless you’re bionic), but how do you tell when you’ve kneaded it enough? It will take between 6 and 10 minutes to do this, but you can test the dough by doing the following:
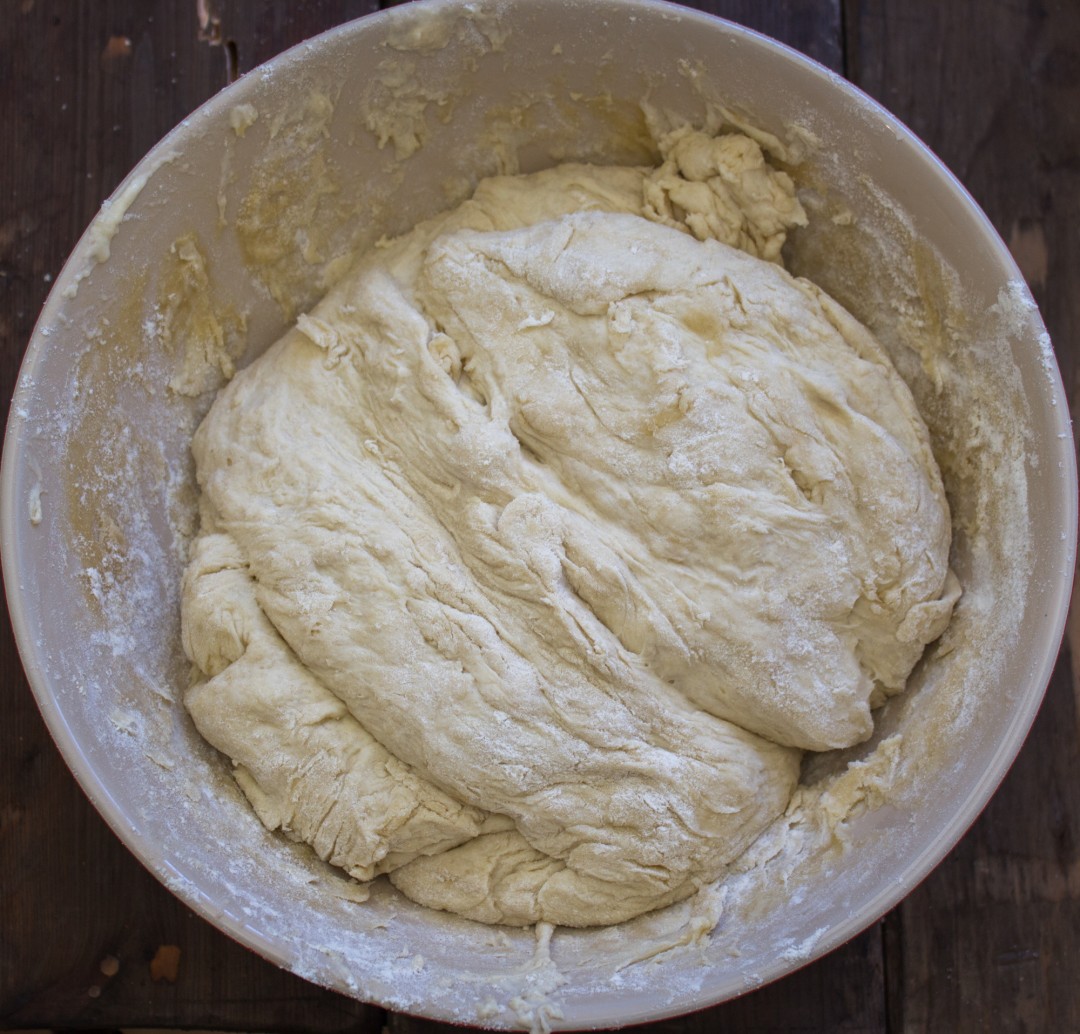
- Smooth Ass Dough – Take notice of the dough when you prepped it for autolysing. Kneaded dough is the exact opposite in appearance, it is smooth like a baby’s bottom. This is the first sign your dough is on track.
- Up High – Lift the dough with your hands and hold it in the air a few seconds. If it starts to sag, you got more kneading ahead of you.
- Poke it (#TWSS) – Cover your finger in flour and give the dough a firm poke. If the dough springs back quickly, you are good to go. If it stays, keep kneading.
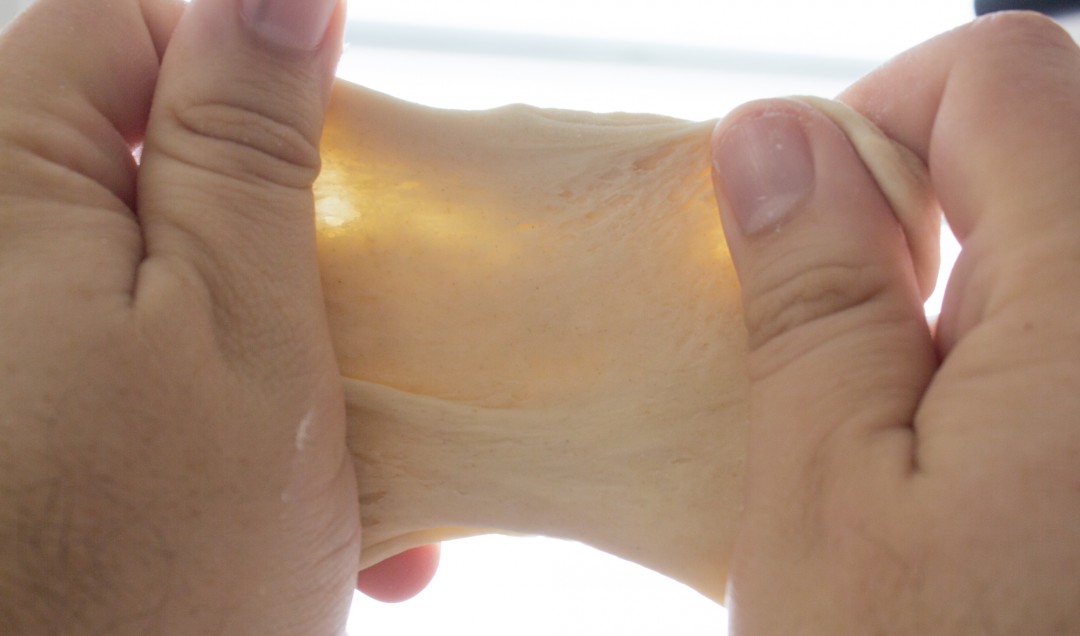
- Window Test – Cut off a golf-ball-sized piece of dough (never tear your dough) and stretch it between your fingers (see below). The dough will stretch easily without breaking, allowing light through. If it doesn’t, keep kneading.
- You’re f*cking tired! Seriously, kneading dough could be part of your cross fit routine. It’s hard work.
10. Grease a large bowl with olive oil and transfer the kneaded dough to it. Cover the bowl and set aside for a few hours. That is, go watch more Orange is the New Black. Oh, and if you have a cold kitchen, use the same oven trick listed above. When the dough has about doubled in size, it’s ready for the next step.
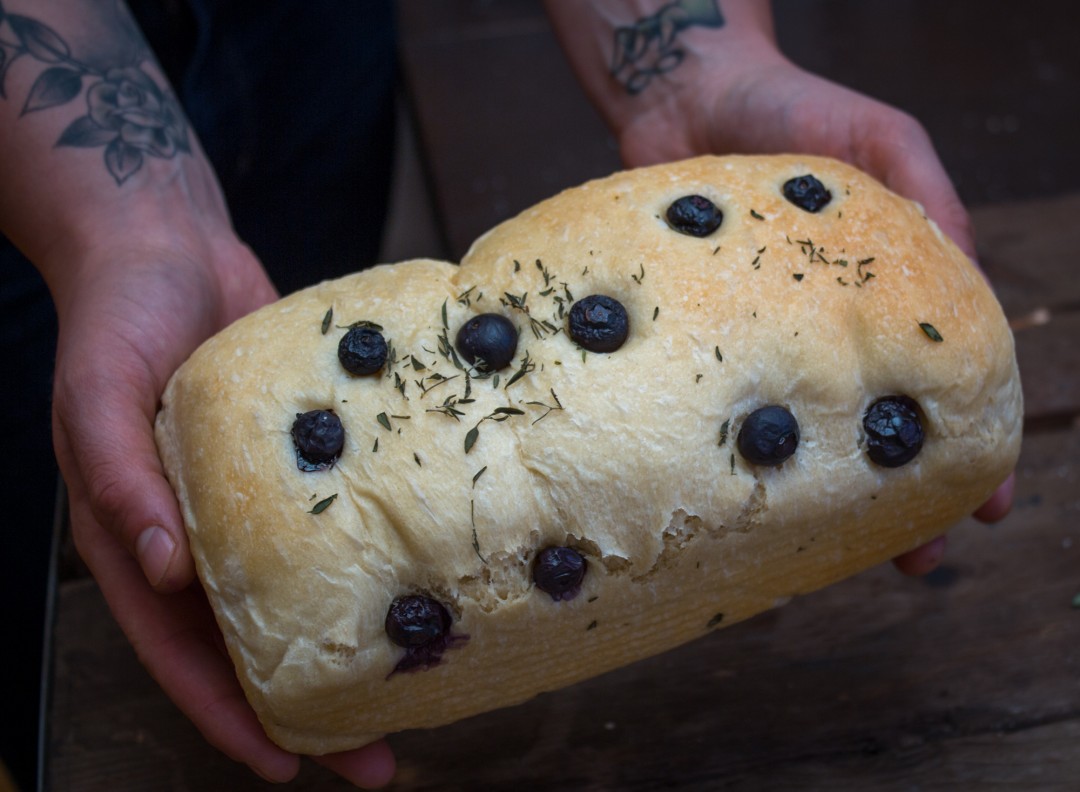
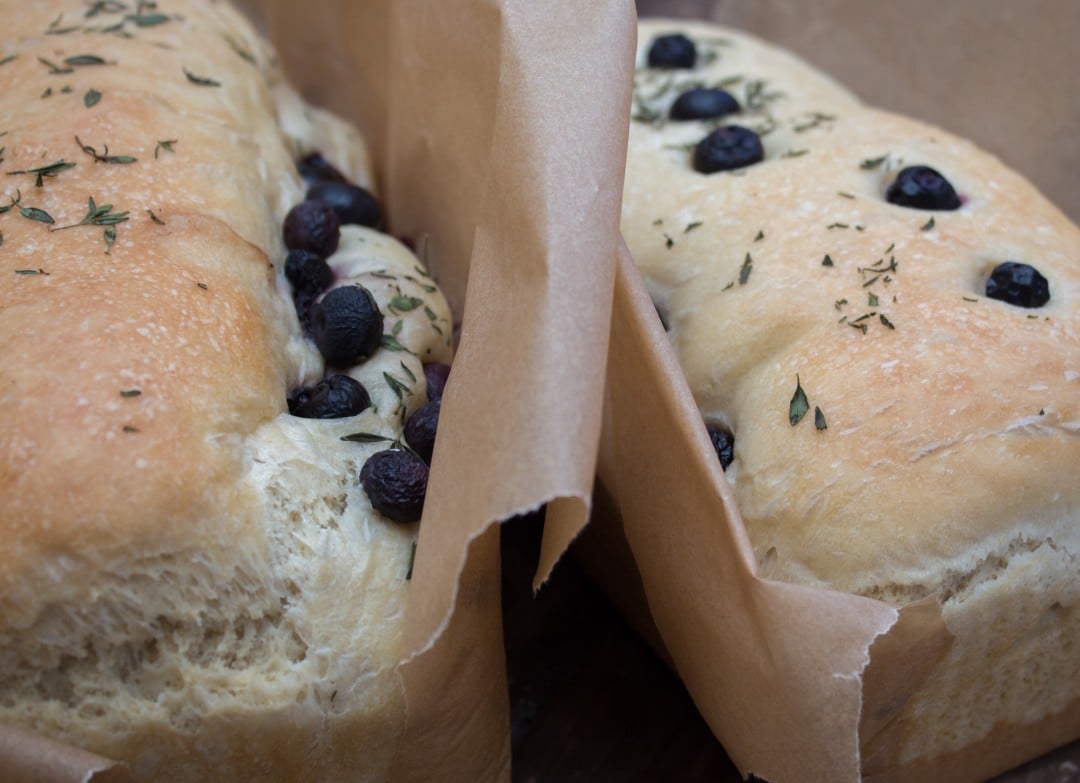
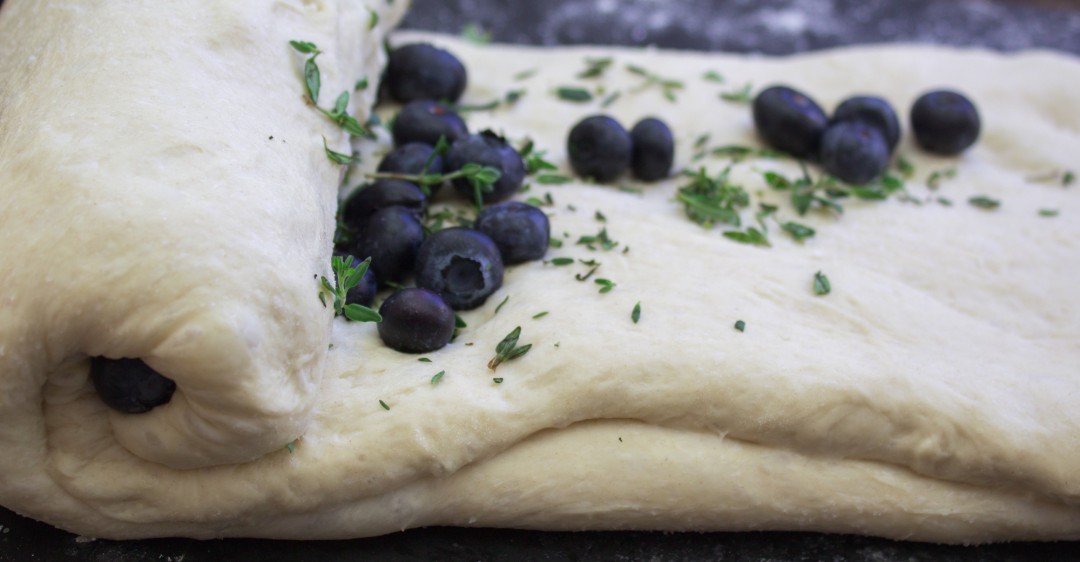
11. Carefully lay the dough out on a floured surface, pressing it out flat with your fingers and shaping it in a similar size to your three bread pans. I used these 8″ bread pans. So for this step, I shaped the dough to be 8″ x 1.5′. Cut the dough into three equal parts. Top each layer with ? of the blueberries and ? thyme, then roll the dough up like a roulade.
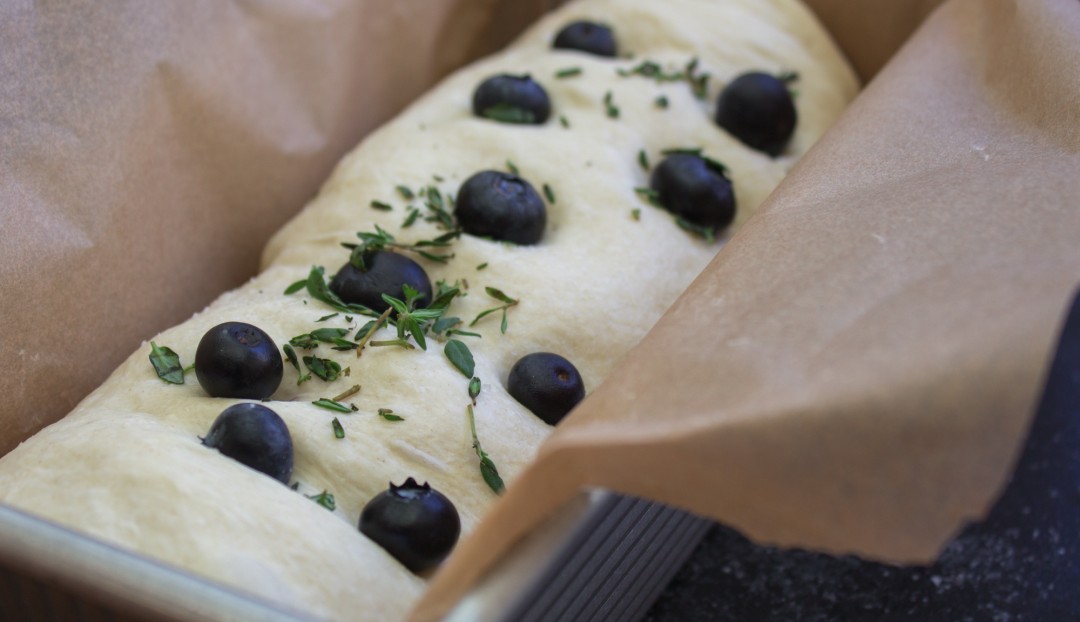
12. Line each bread pan with parchment paper that overhangs, and then transfer each dough “roll” to its own pan. If you want, you can reserve some of the blueberries and thyme for the top of the loaf. Let the dough rise in the pans for about 30 minutes. Then bake them at 375 degrees F for 40 minutes, until the loaves rise, forming a light golden-brown crust. Remove the loaves from the oven, then using the parchment paper, lift the loaves out and place them on a rack to cool.
13. Give one to a friend and one to someone in need. The third loaf is for you.
14. Now, let’s get social. Please take photos (or videos). I want to see you making the bread and sharing it. I will collect these photos and share them on my social channels. To be included, simply use the hashtag #ThreeLoaves when you post something to Twitter, Facebook, Google+, or Instagram.